Call us now! (949) 570-5551

The Ultimate Drywall Repair Guide for Homeowners
Discover the essential steps for drywall repair in your home with The Ultimate Drywall Repair Guide for Homeowners. This comprehensive guide will help you fix holes, cracks, and damages to achieve smooth, professional-looking results. Whether you're a DIY enthusiast or a first-time repairer, this guide offers easy-to-follow tips and tricks to restore your walls quickly and effectively.
When it comes to maintaining your home, drywall repair is one of the most common tasks homeowners face. Whether it’s due to wear and tear, accidental damage, or simply the aging process, knowing how to handle drywall issues can save you time, money, and frustration. In this comprehensive guide, we’ll walk you through the most effective drywall repair tips, techniques, and tools you need to restore your walls to their original condition.
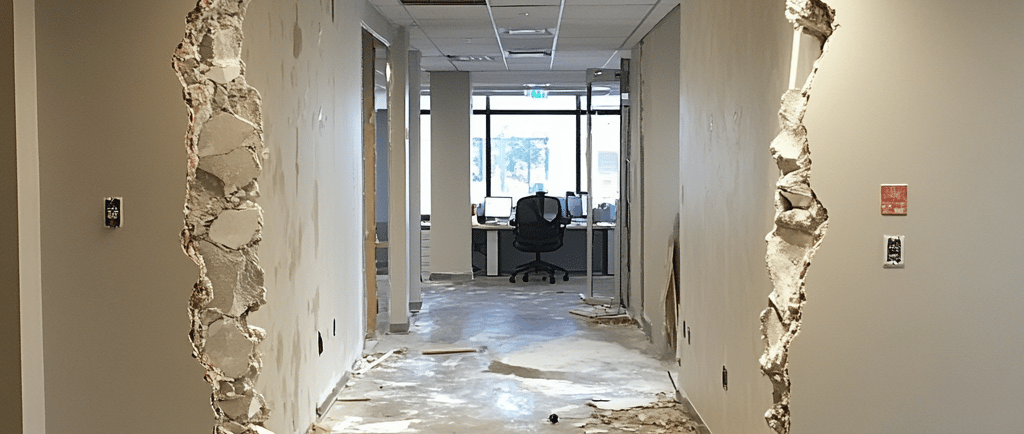
Understanding Drywall Damage
Drywall, also known as gypsum board, is a key component of many homes, used to create smooth, solid walls and ceilings. Over time, drywall can become damaged from a variety of sources, including:
Nail or screw holes: Caused by hanging pictures or shelves.
Cracks: These can form from settling foundations or changes in temperature and humidity.
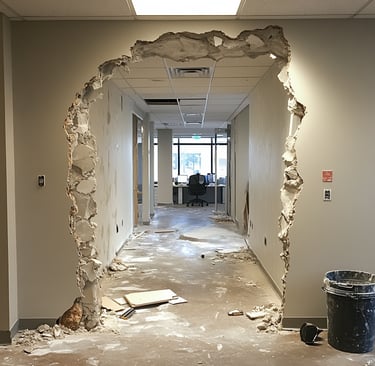
Water damage: Leaks or floods can cause significant damage to drywall, leading to stains, mold, or soft spots.
Accidental holes or dents: From furniture, doors, or other household activities.
While small issues can often be handled by homeowners, larger problems might require professional attention. However, with the right tools and techniques, most drywall repairs can be completed without the need for a contractor.
Basic Tools and Materials for Drywall Repair
Before diving into the repair process, ensure you have the necessary tools and materials on hand. Here’s what you’ll need:
Putty knife: A 4-6 inch putty knife is ideal for spreading spackle or joint compound.
Spackle or joint compound: Spackle is best for small holes and cracks, while joint compound is used for larger repairs.
Drywall patch: For larger holes, you’ll need a drywall patch to cover the area.
Sandpaper: Fine-grit sandpaper or a sanding sponge will help you smooth the repaired area.
Primer and paint: Once the repair is dry, you’ll need primer and paint to blend the area with the rest of the wall.
Step-by-Step Drywall Repair Process
1. Prepare the Area: Start by clearing the area around the damaged section. Lay down a drop cloth or plastic sheet to protect your floors. If the damage is due to water, ensure the area is dry before proceeding.
2. Clean the Damage: For small holes or cracks, use a utility knife to clean up the edges, making the hole easier to repair. Remove any debris or loose drywall.
3. Apply Joint Compound: For small holes, fill the area with spackle using a putty knife. For larger holes, place a drywall patch and apply joint compound around the edges. Use your putty knife to smooth it out and blend it with the surrounding wall.
4. Sand the Area: After the joint compound has dried (usually within 24 hours), sand the area smooth using fine-grit sandpaper or a sanding sponge. Make sure the surface is level and smooth.
5. Prime and Paint: Once the repair is sanded and smooth, apply a coat of primer to the area. Let the primer dry, then apply paint that matches the rest of the wall. You may need to apply multiple coats for a seamless finish.
Tips for Successful Drywall Repair
Choose the Right Compound: For small holes, spackle is sufficient, but for larger repairs, joint compound is more durable and can cover bigger areas.
Smooth the Surface: After sanding, ensure the surface is as smooth as possible before painting to avoid uneven textures.
Allow Drying Time: Be patient and allow the compound to fully dry before sanding or painting. Rushing this step can lead to unsightly results.
When to Call a Professional
While many drywall repairs are easy to complete on your own, there are situations where hiring a professional is the best choice. If you’re dealing with extensive water damage, large holes, or structural issues, it’s wise to seek help from a drywall expert to ensure the job is done correctly.
Conclusion
Drywall repair doesn’t have to be intimidating. With the right tools, techniques, and a bit of patience, you can restore your walls to their original state and maintain the beauty of your home. Whether you're handling small holes or larger damage, The Ultimate Drywall Repair Guide for Homeowners provides the step-by-step instructions you need to achieve a flawless finish. For larger repairs or if you're unsure of the extent of the damage, don't hesitate to contact a professional. Proper drywall maintenance ensures your walls stay in top condition for years to come!